
Appearance
Step 8: Finalize Application Configuration
From the application settings page, click Launch app and wait for the App Launcher to start. The first launch may take a few minutes.
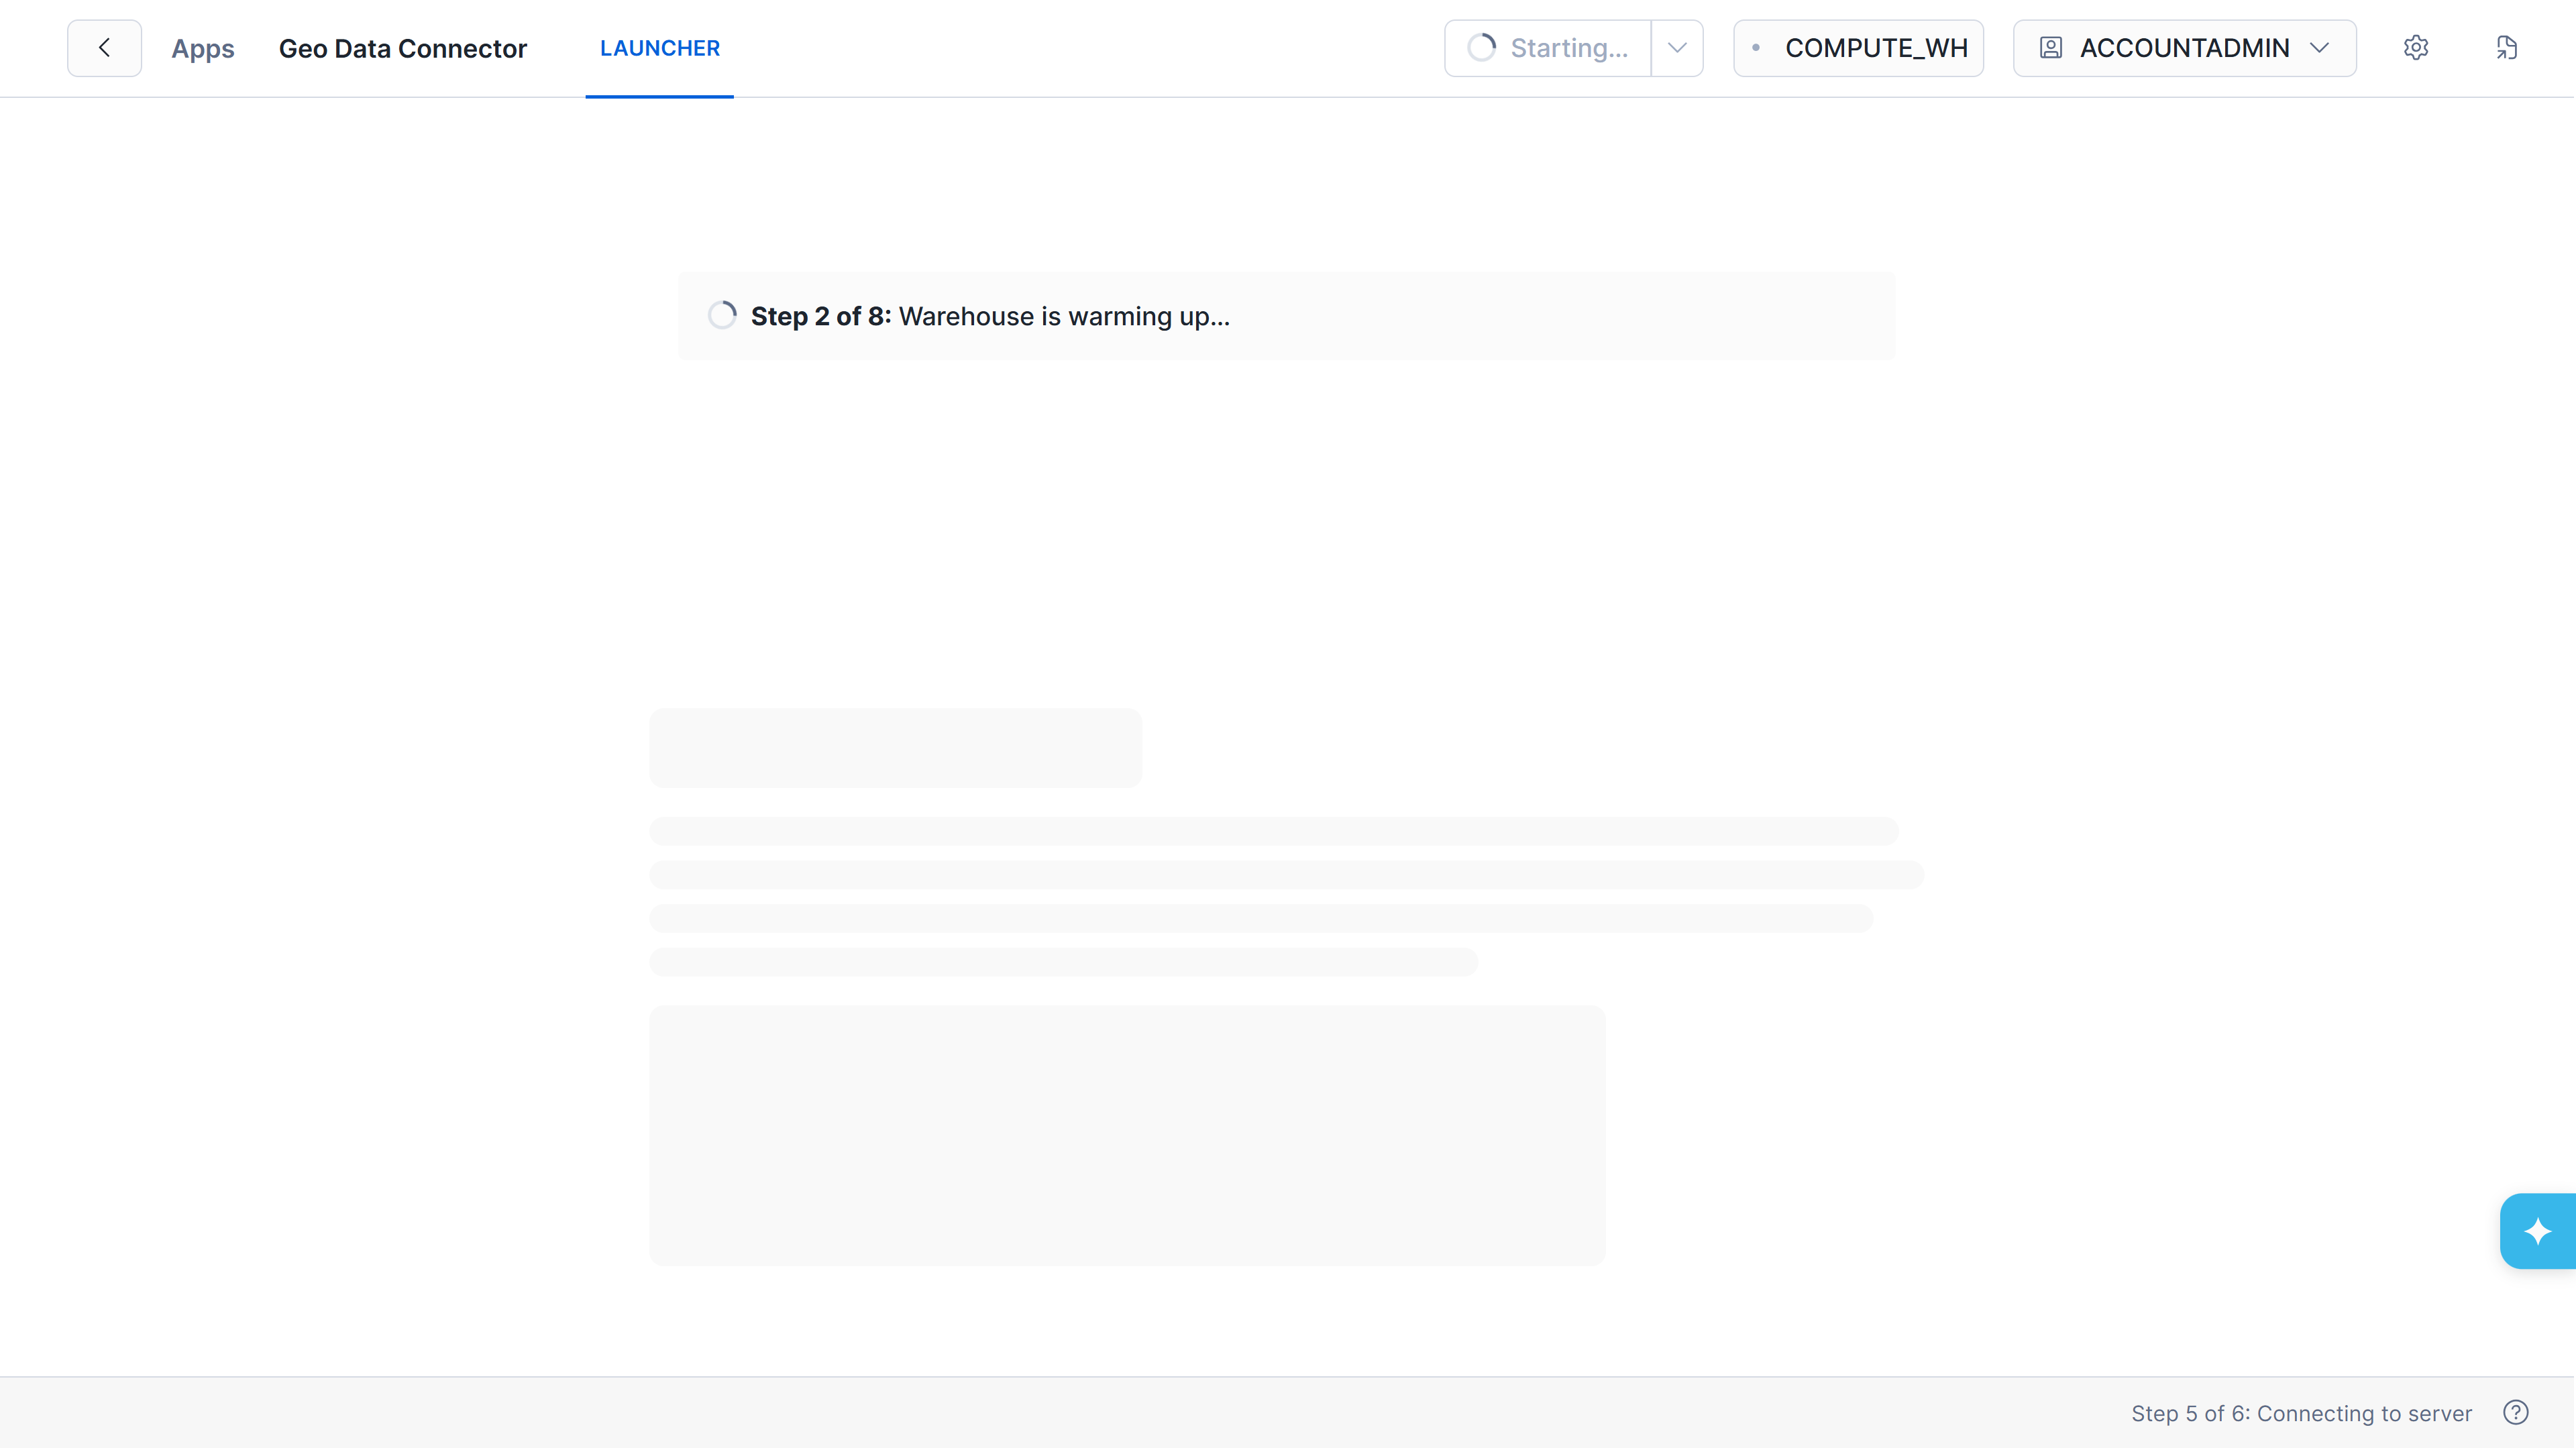
App Launcher starting up after clicking Launch app
Configure Target Ingestion Database
Once the App Launcher opens, enter the name for the target ingestion database — where all ingested datasets will be stored — and press Enter.
The Connector will create the database in your Snowflake account.
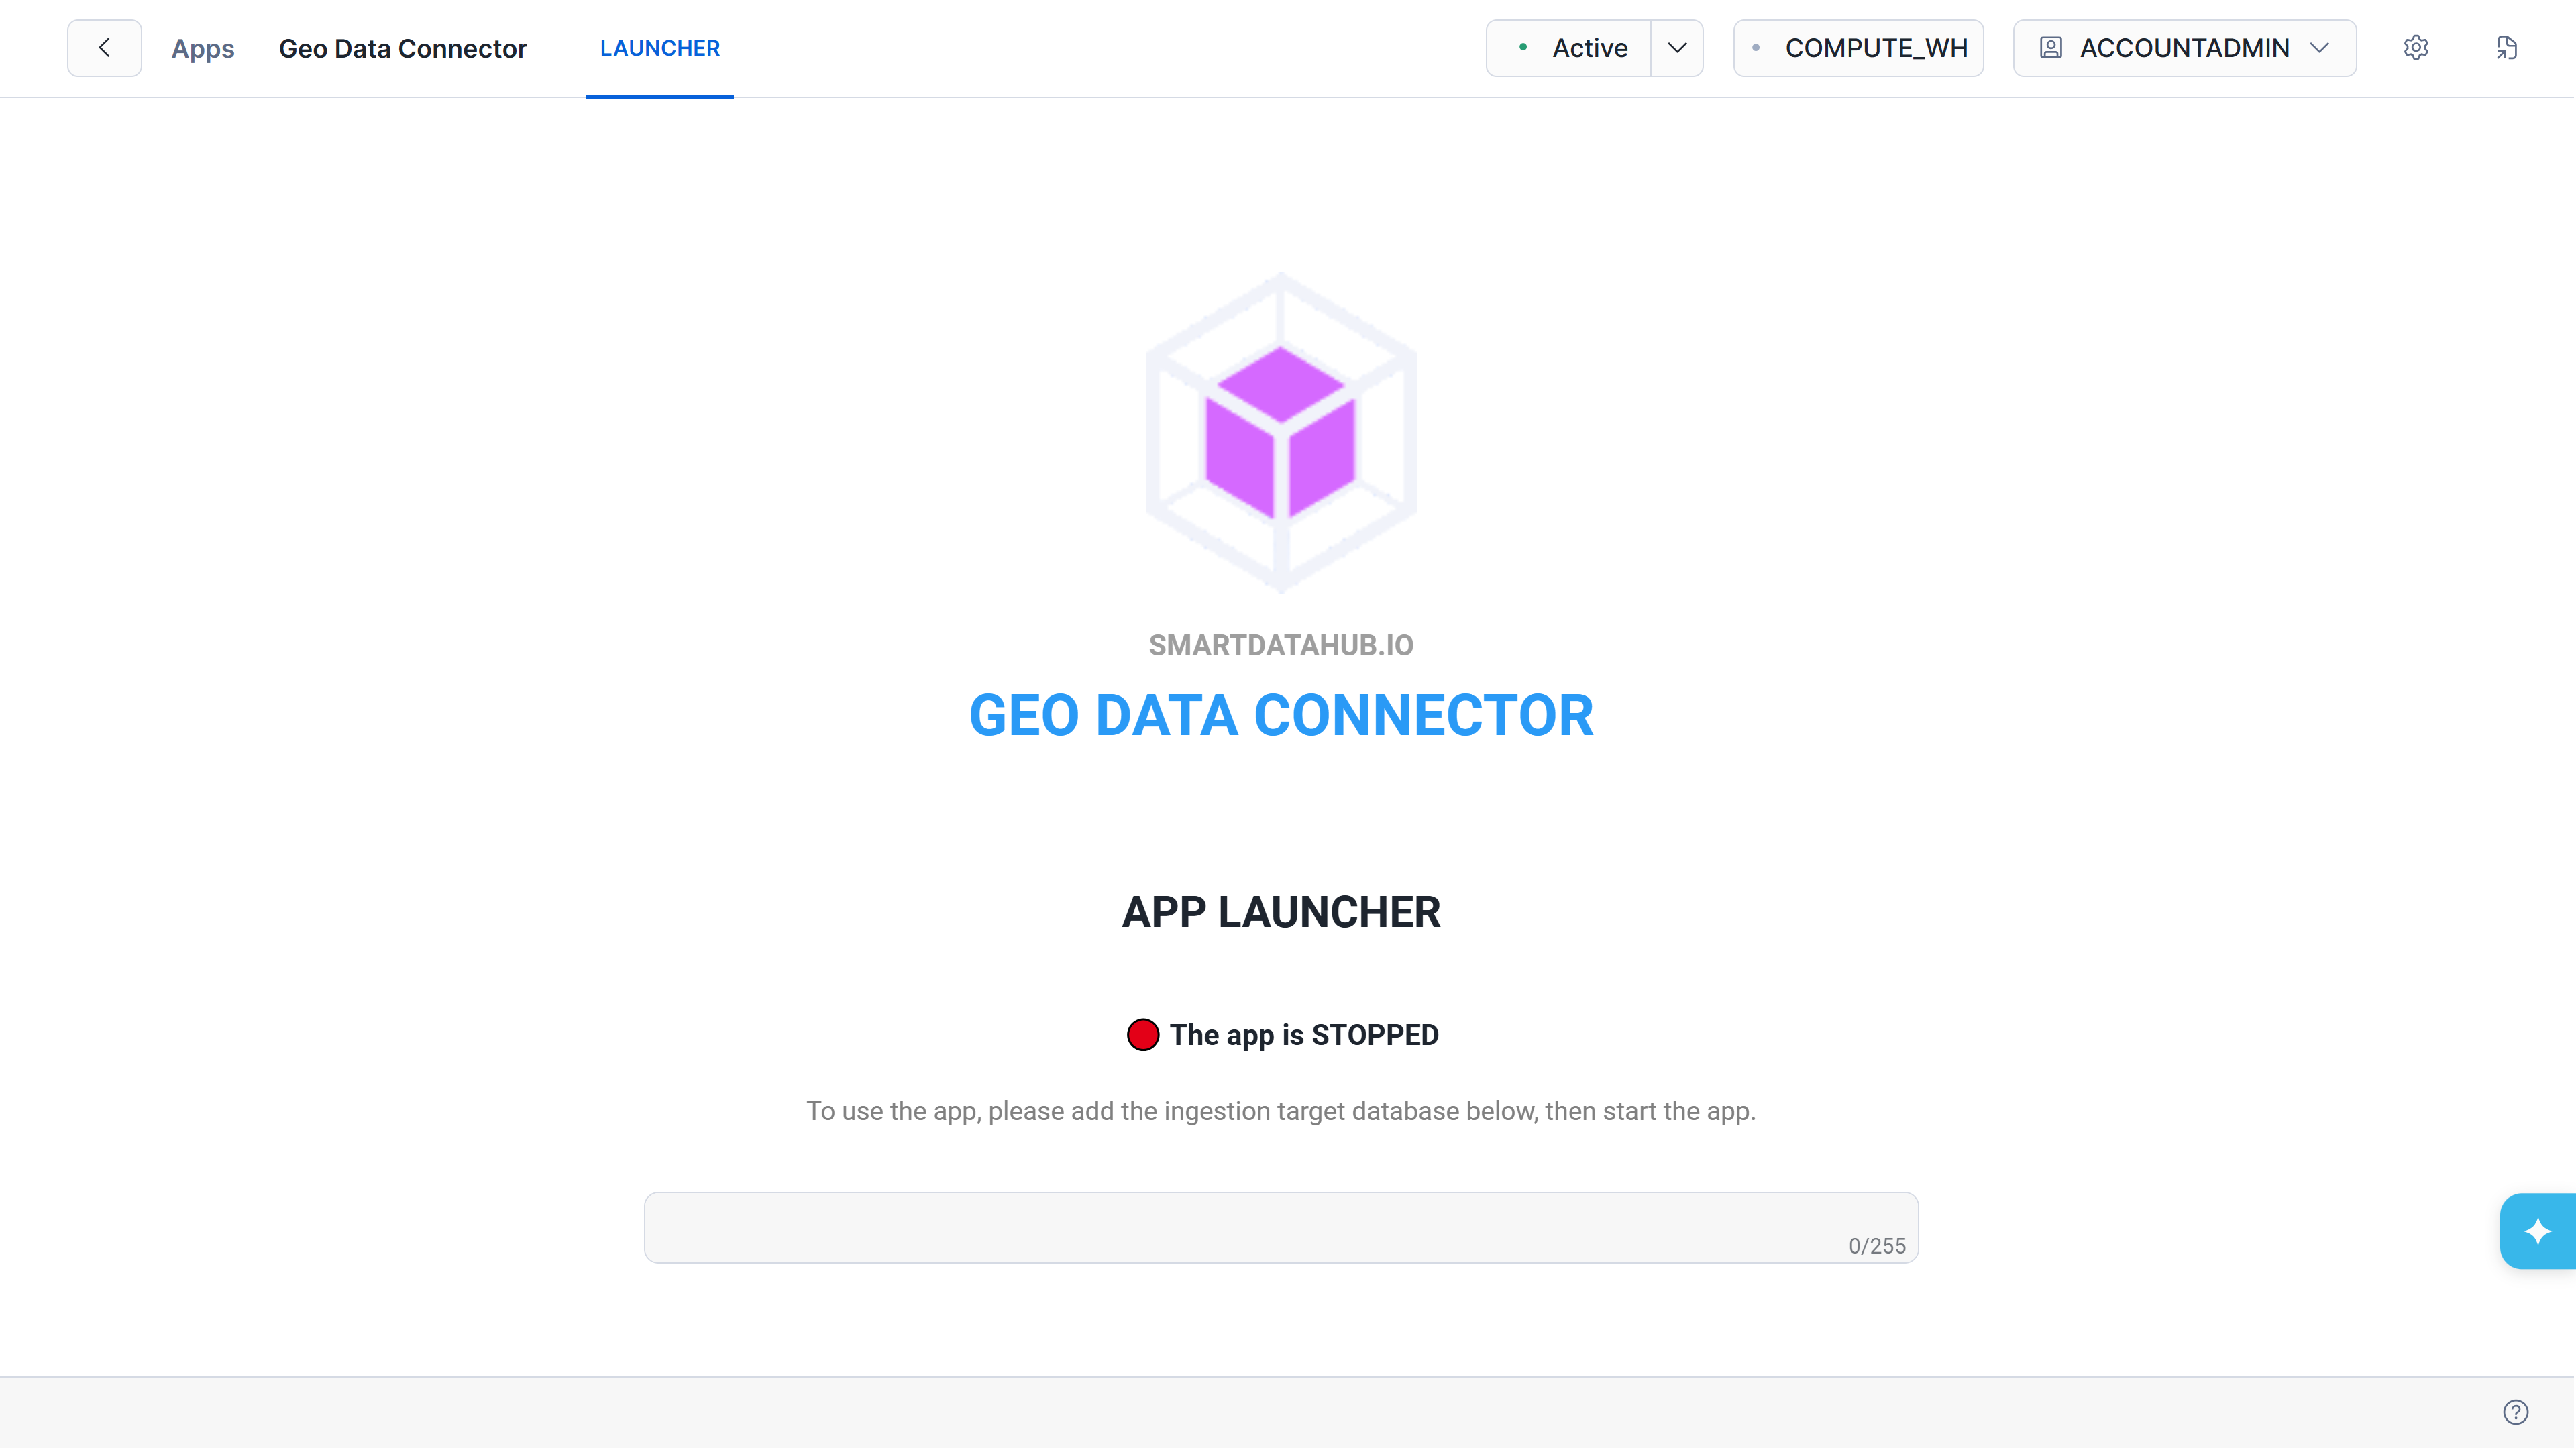
Target ingestion database configuration screen
After the database is created, the App Launcher shows Start App and Refresh Status buttons, confirming that the Connector is ready.
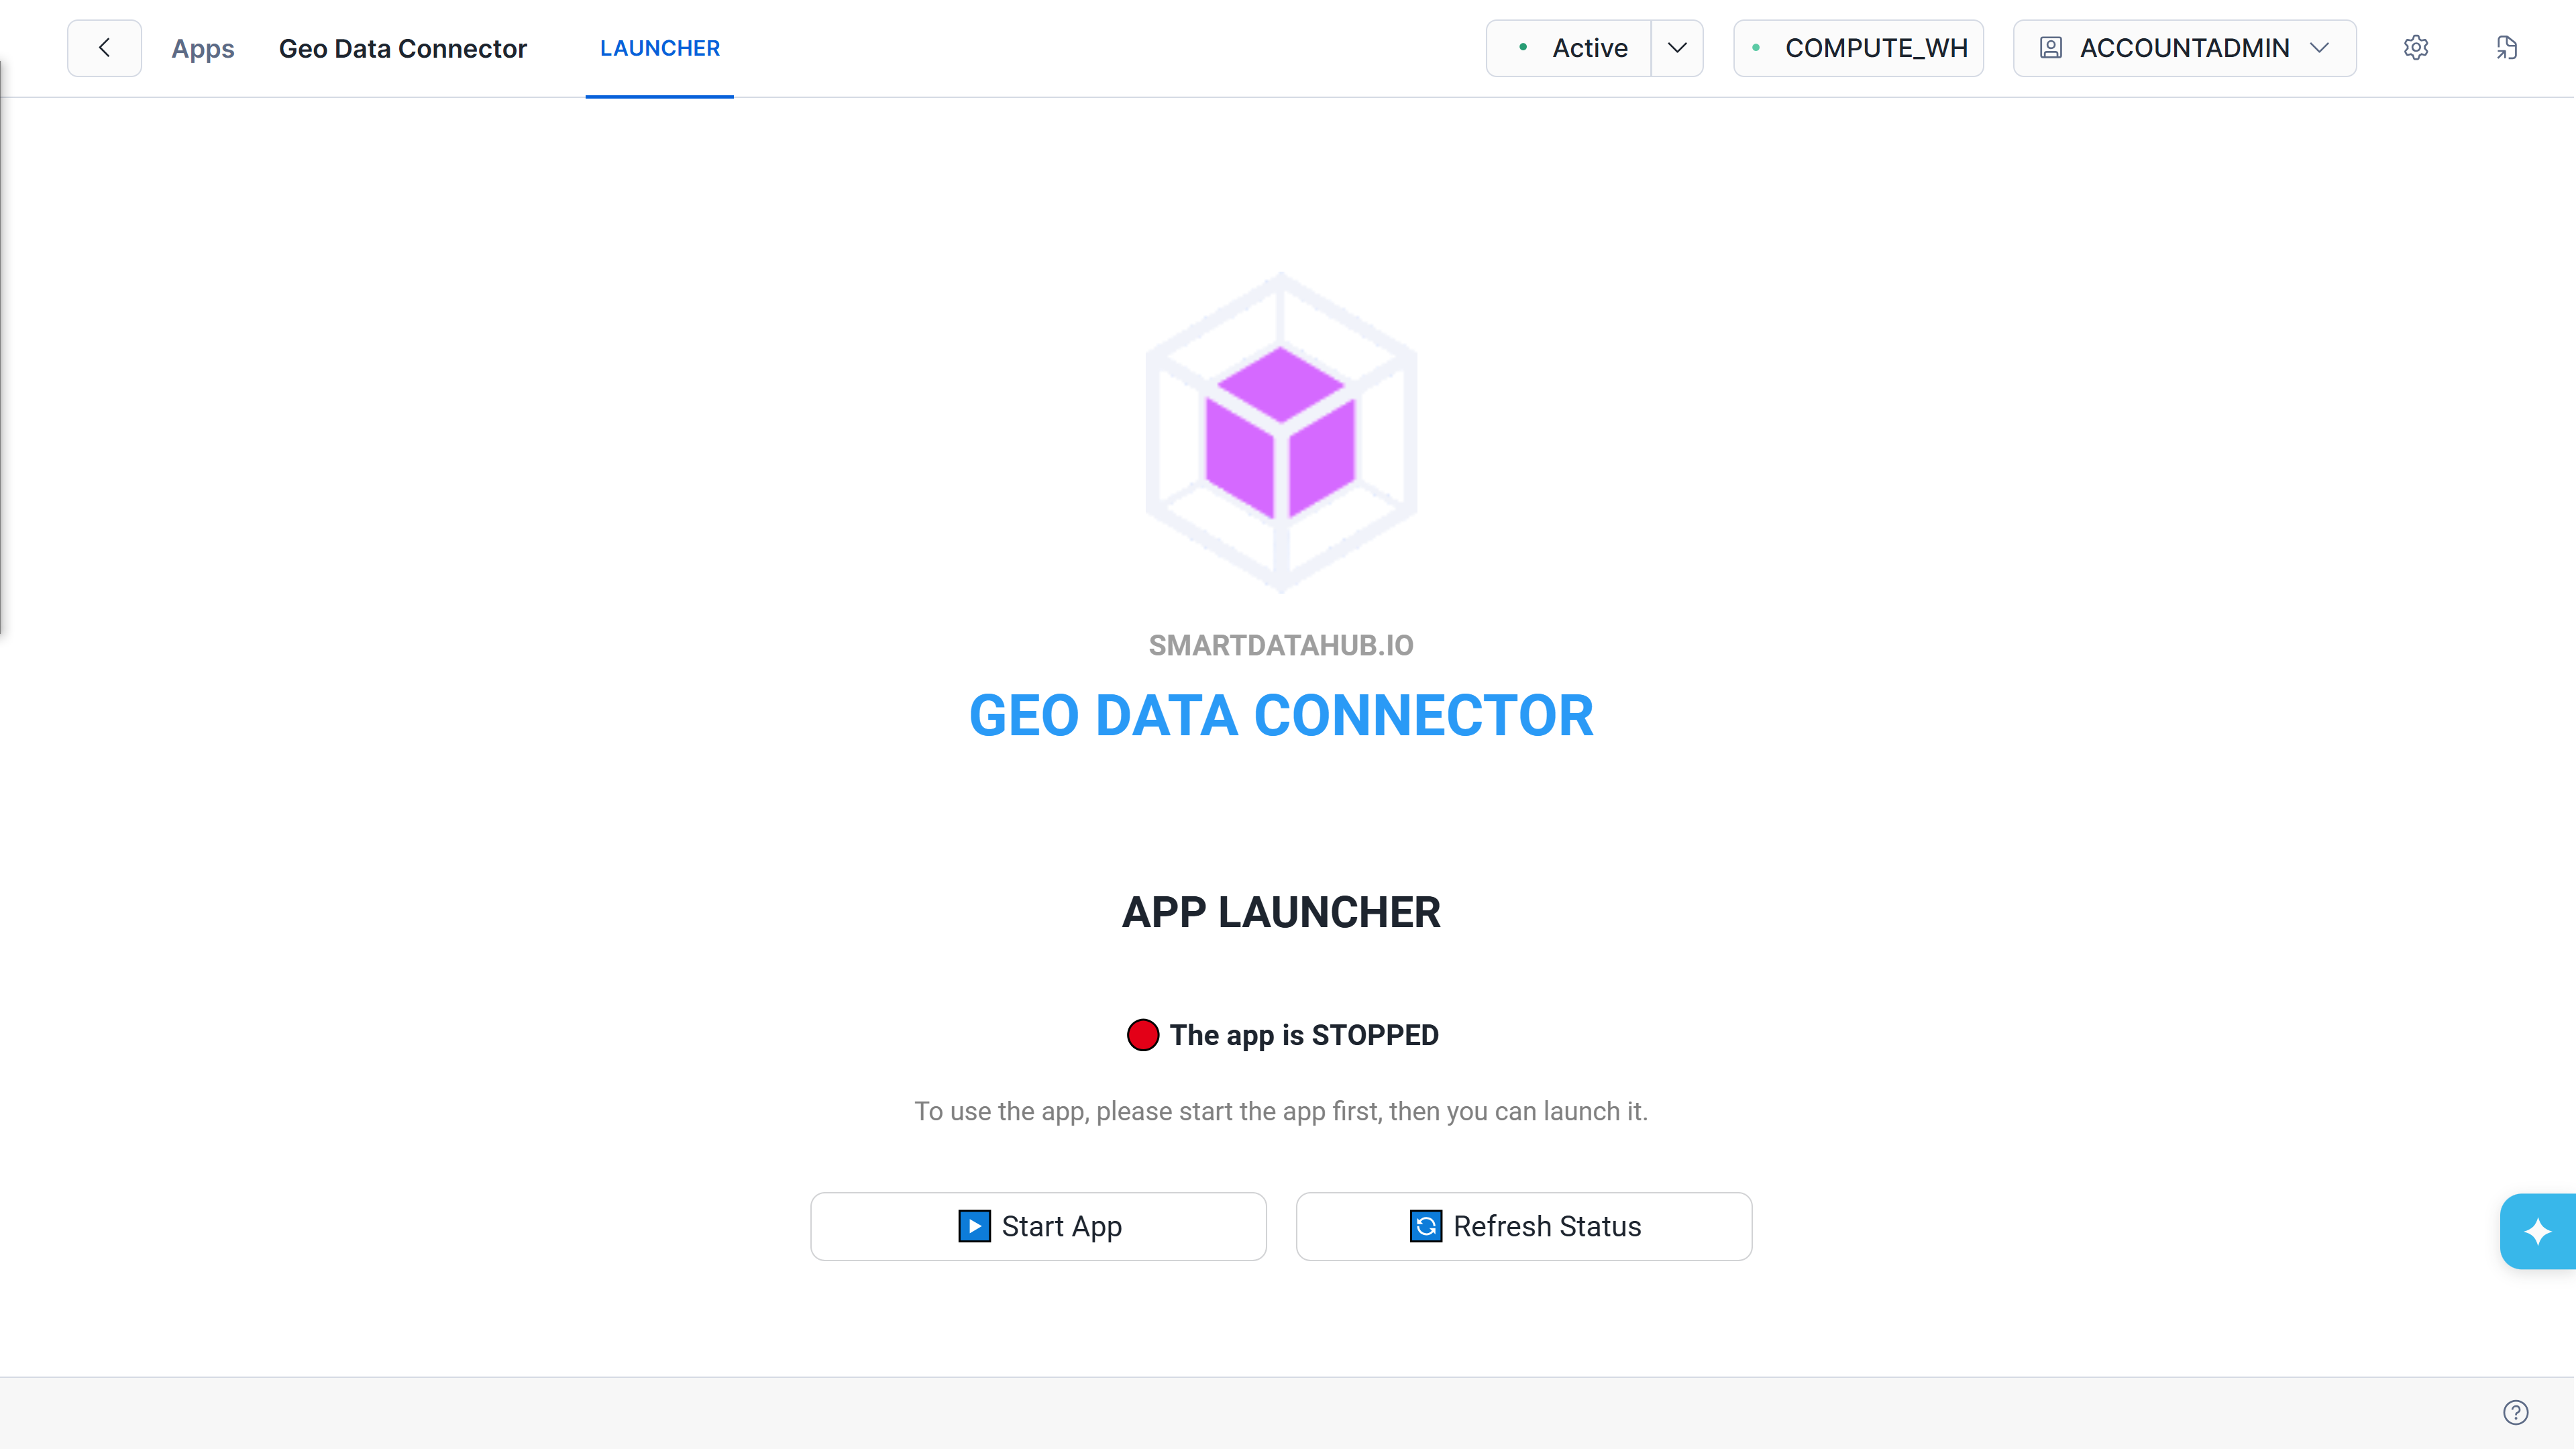
App Launcher ready with Start App button
Alternative: Configure via SQL
You can also configure the ingestion target database from a Snowflake worksheet without opening the App Launcher:
sql
CALL SETUP.GDC_CONFIG('set_setting', PARSE_JSON('{"key": "ingestion-database", "value": "MY_GDC_DATA"}'));This creates the database and grants the necessary privileges. Once configured, the SQL Procedures API is ready to use — you do not need to start the web application to create connections, run discovery, or manage ingestion tasks.
Alternative: Configure via AI Assistant
If Cortex Code is available in your Snowflake account and you have added the CoCo Skill, you can configure the Connector conversationally:
- Ask the assistant to "configure gdc app" — it detects that the ingestion database has not been set up and prompts you for the database name.
- Optionally, ask the assistant to "set up the notification email" or configure other settings.
The assistant guides you through each configuration step interactively, calling the same SQL procedures as the methods above.
Installation Complete
The installation is complete. Geo Data Connector is ready to use.
Previous: Step 7: Configure Application
Next: Getting Started